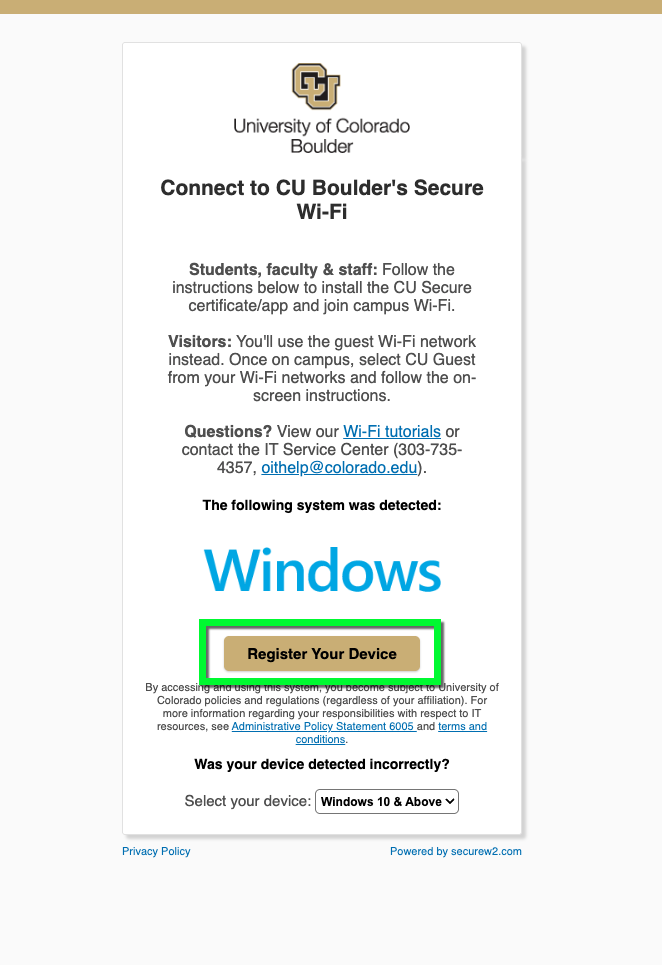
Step 1
- If your device is connected to the internet: Continue to Step 2.
- If your device isn't connected to the internet: Use eduroam, CU Guest or a wired connection to complete this process.
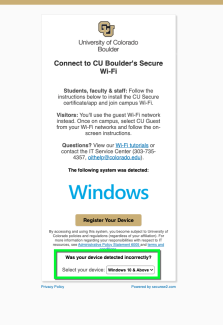
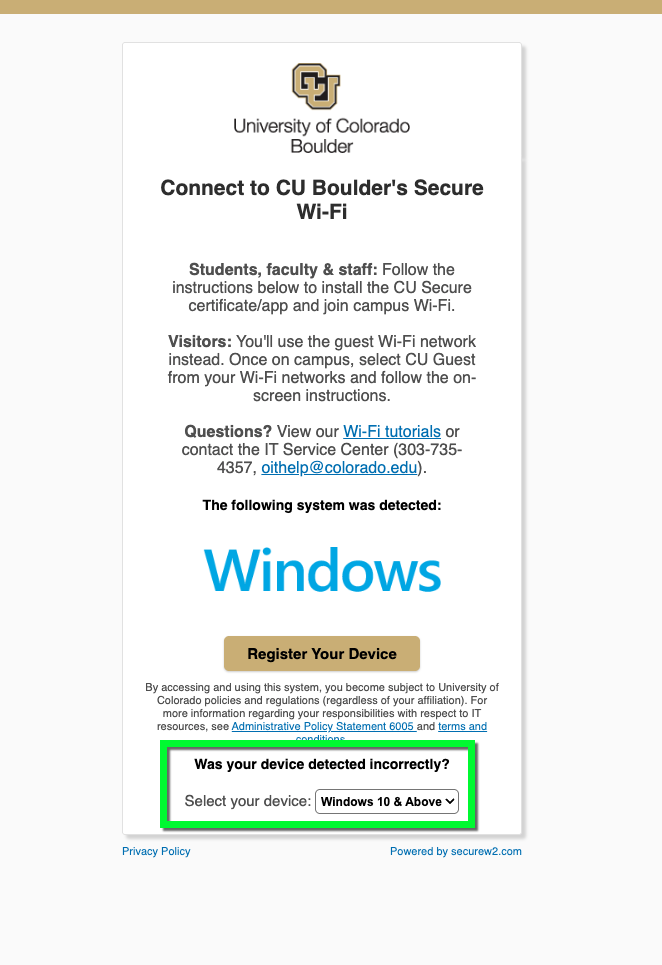
Step 2
Go to wifi.colorado.edu, then click the Install the CU Secure Certificate button.
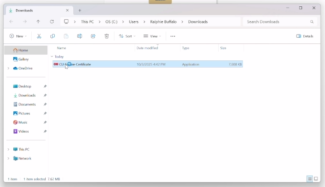
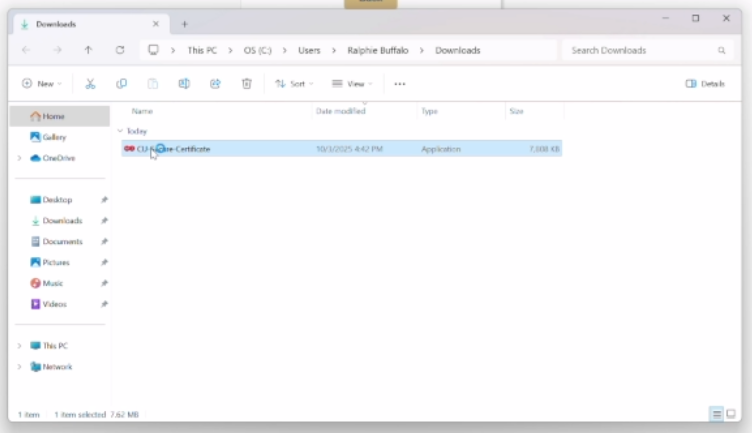
Step 3


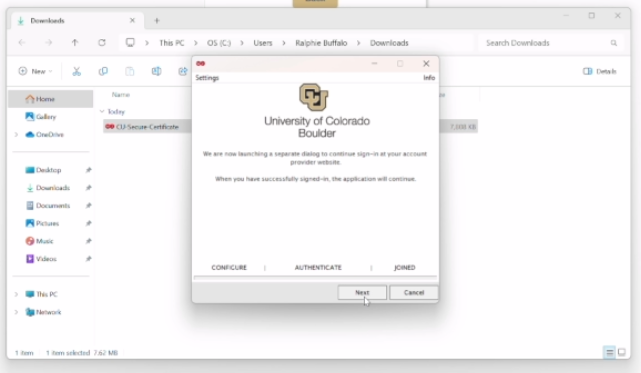
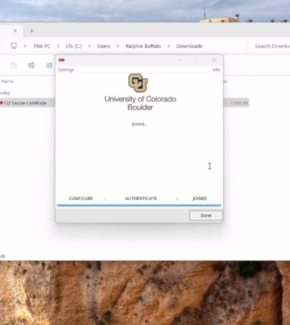
Step 8

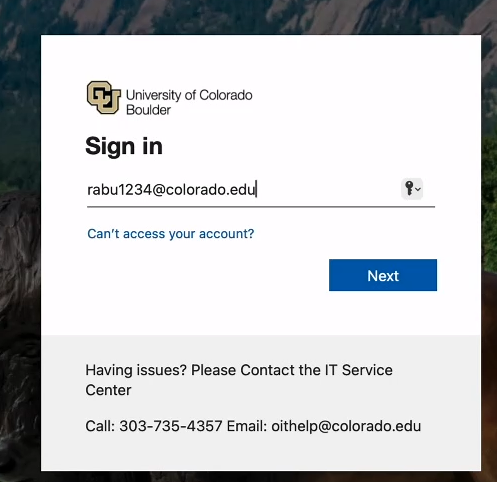
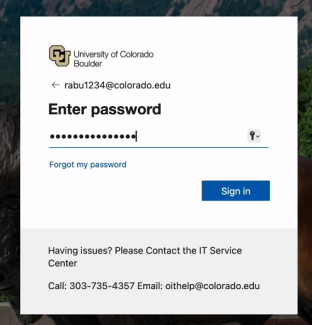

Step 10
If prompted, complete Microsoft multi-factor authentication.
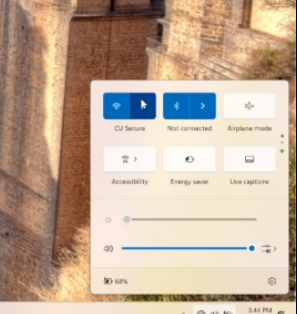
Step 11

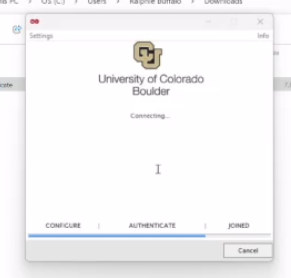
Step 12
If you're not in range of CU Secure Wi-Fi, the onboarding client will indicate that configuration succeeded, but you're not in range. Click Continue.
Note: If you're using a Wi-Fi network to complete this process, take a moment to ensure you're still online.