
Get the Software
To start, download the Linux VPN client: Cisco Secure Client for Linux.
Instructions for the Desktop User Interface
Installation
Step 1
Find the folder where you have downloaded the Cisco Secure Client Package.
Step 2
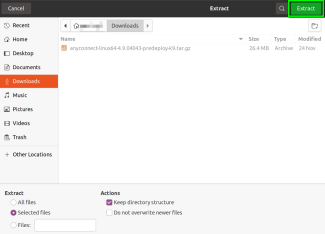
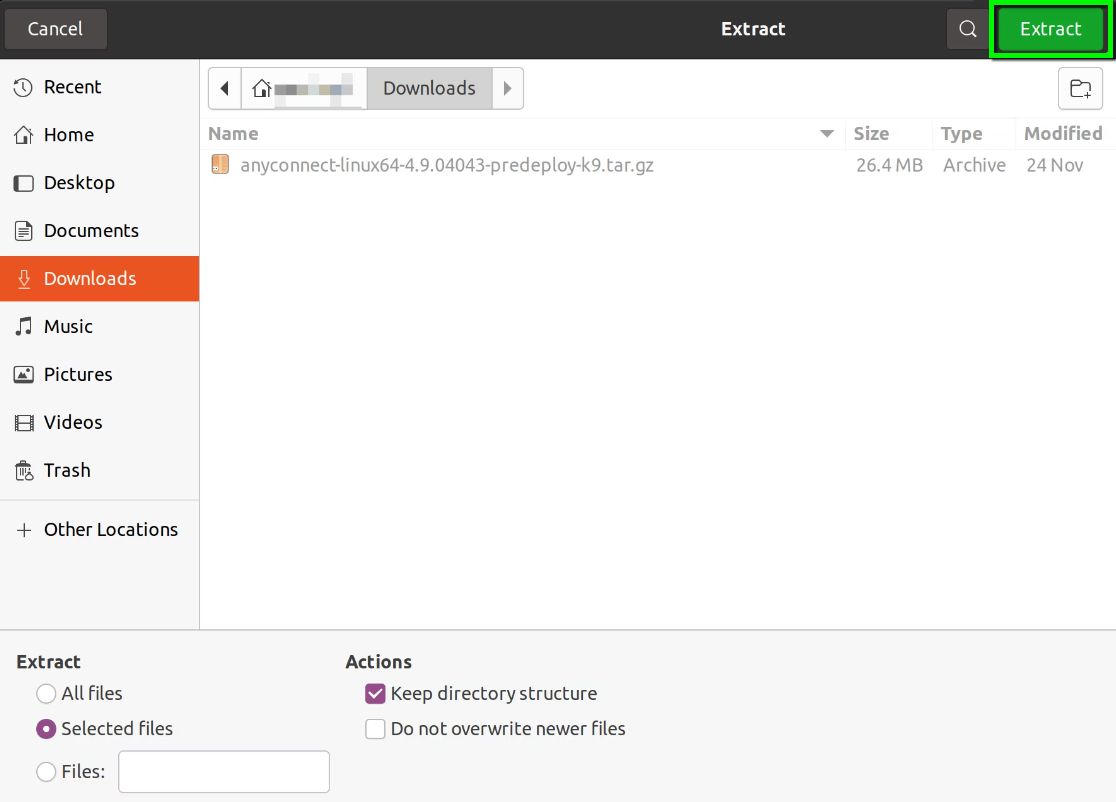
Step 3
When you get a notification that the extraction is completed, click Close.
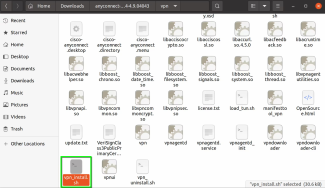
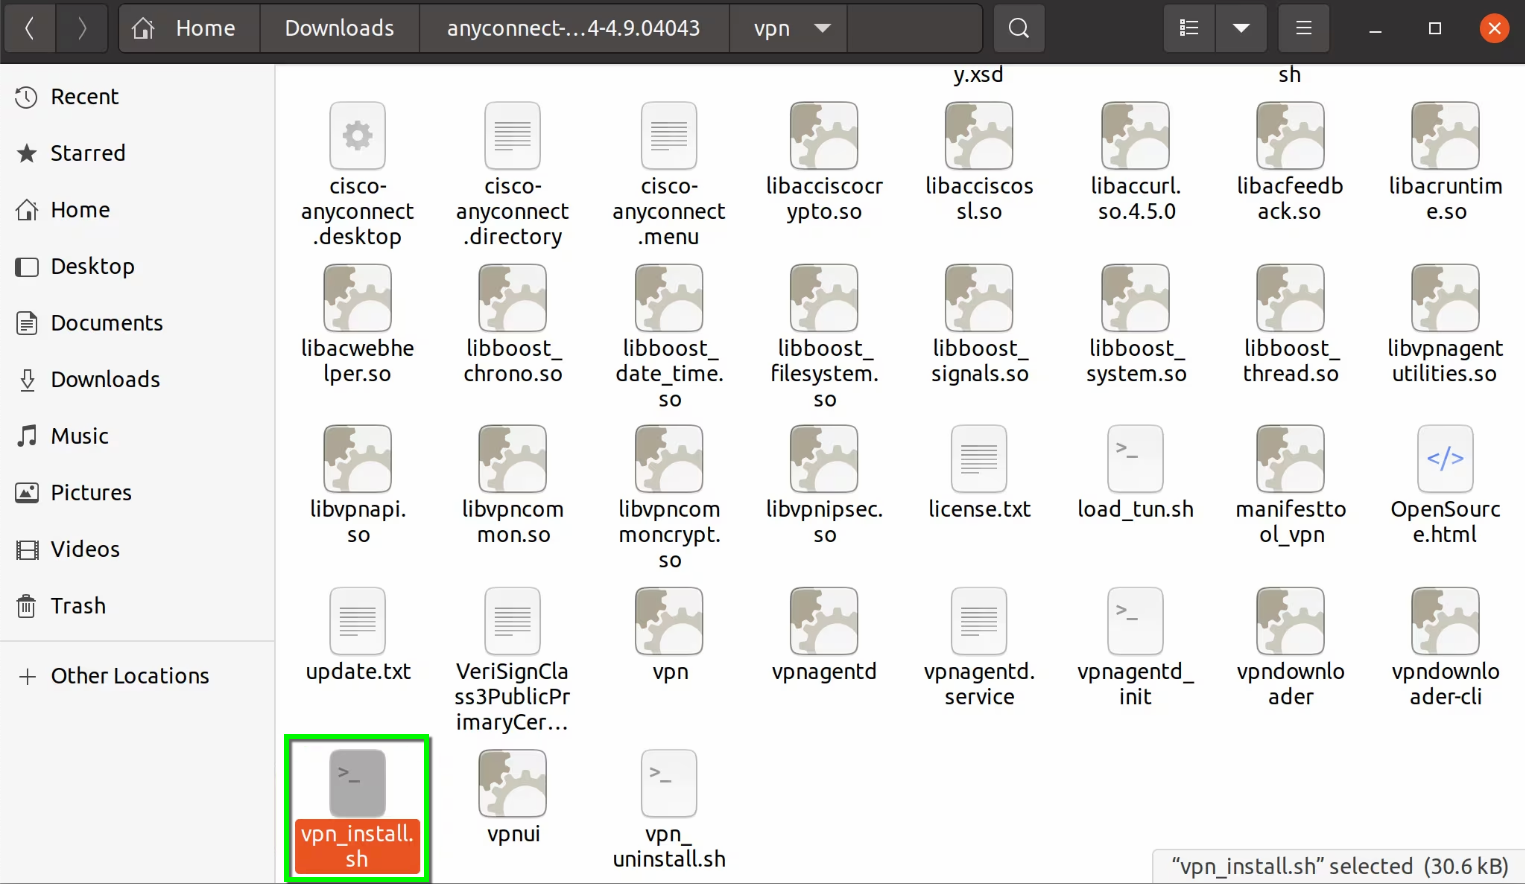
Step 5
To run the Secure Client install script, press Ctrl+Alt+T to open a Linux Terminal.
Step 6
Type sudo ./vpn_install.sh
Step 7
Accept the terms in the license agreement to complete the installation by typing "y".
Using Cisco Secure Client
Step 1
In the Desktop environment, search for or find the Cisco Secure Client application and open it.
Step 2
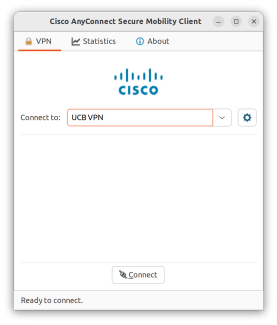
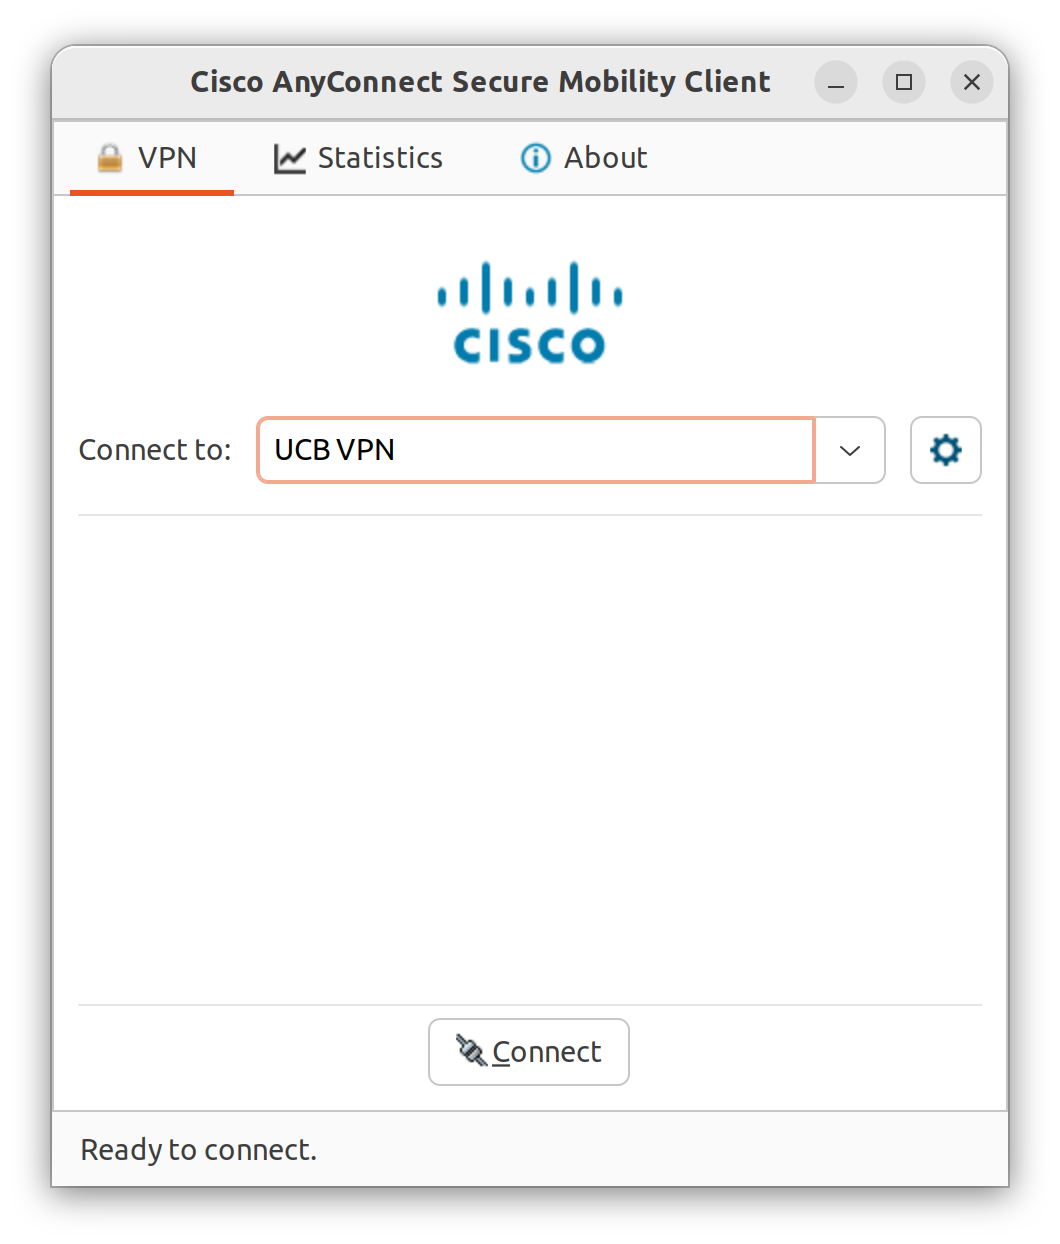
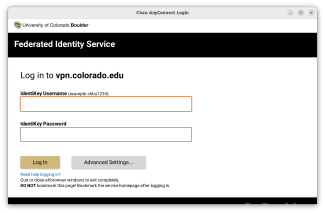
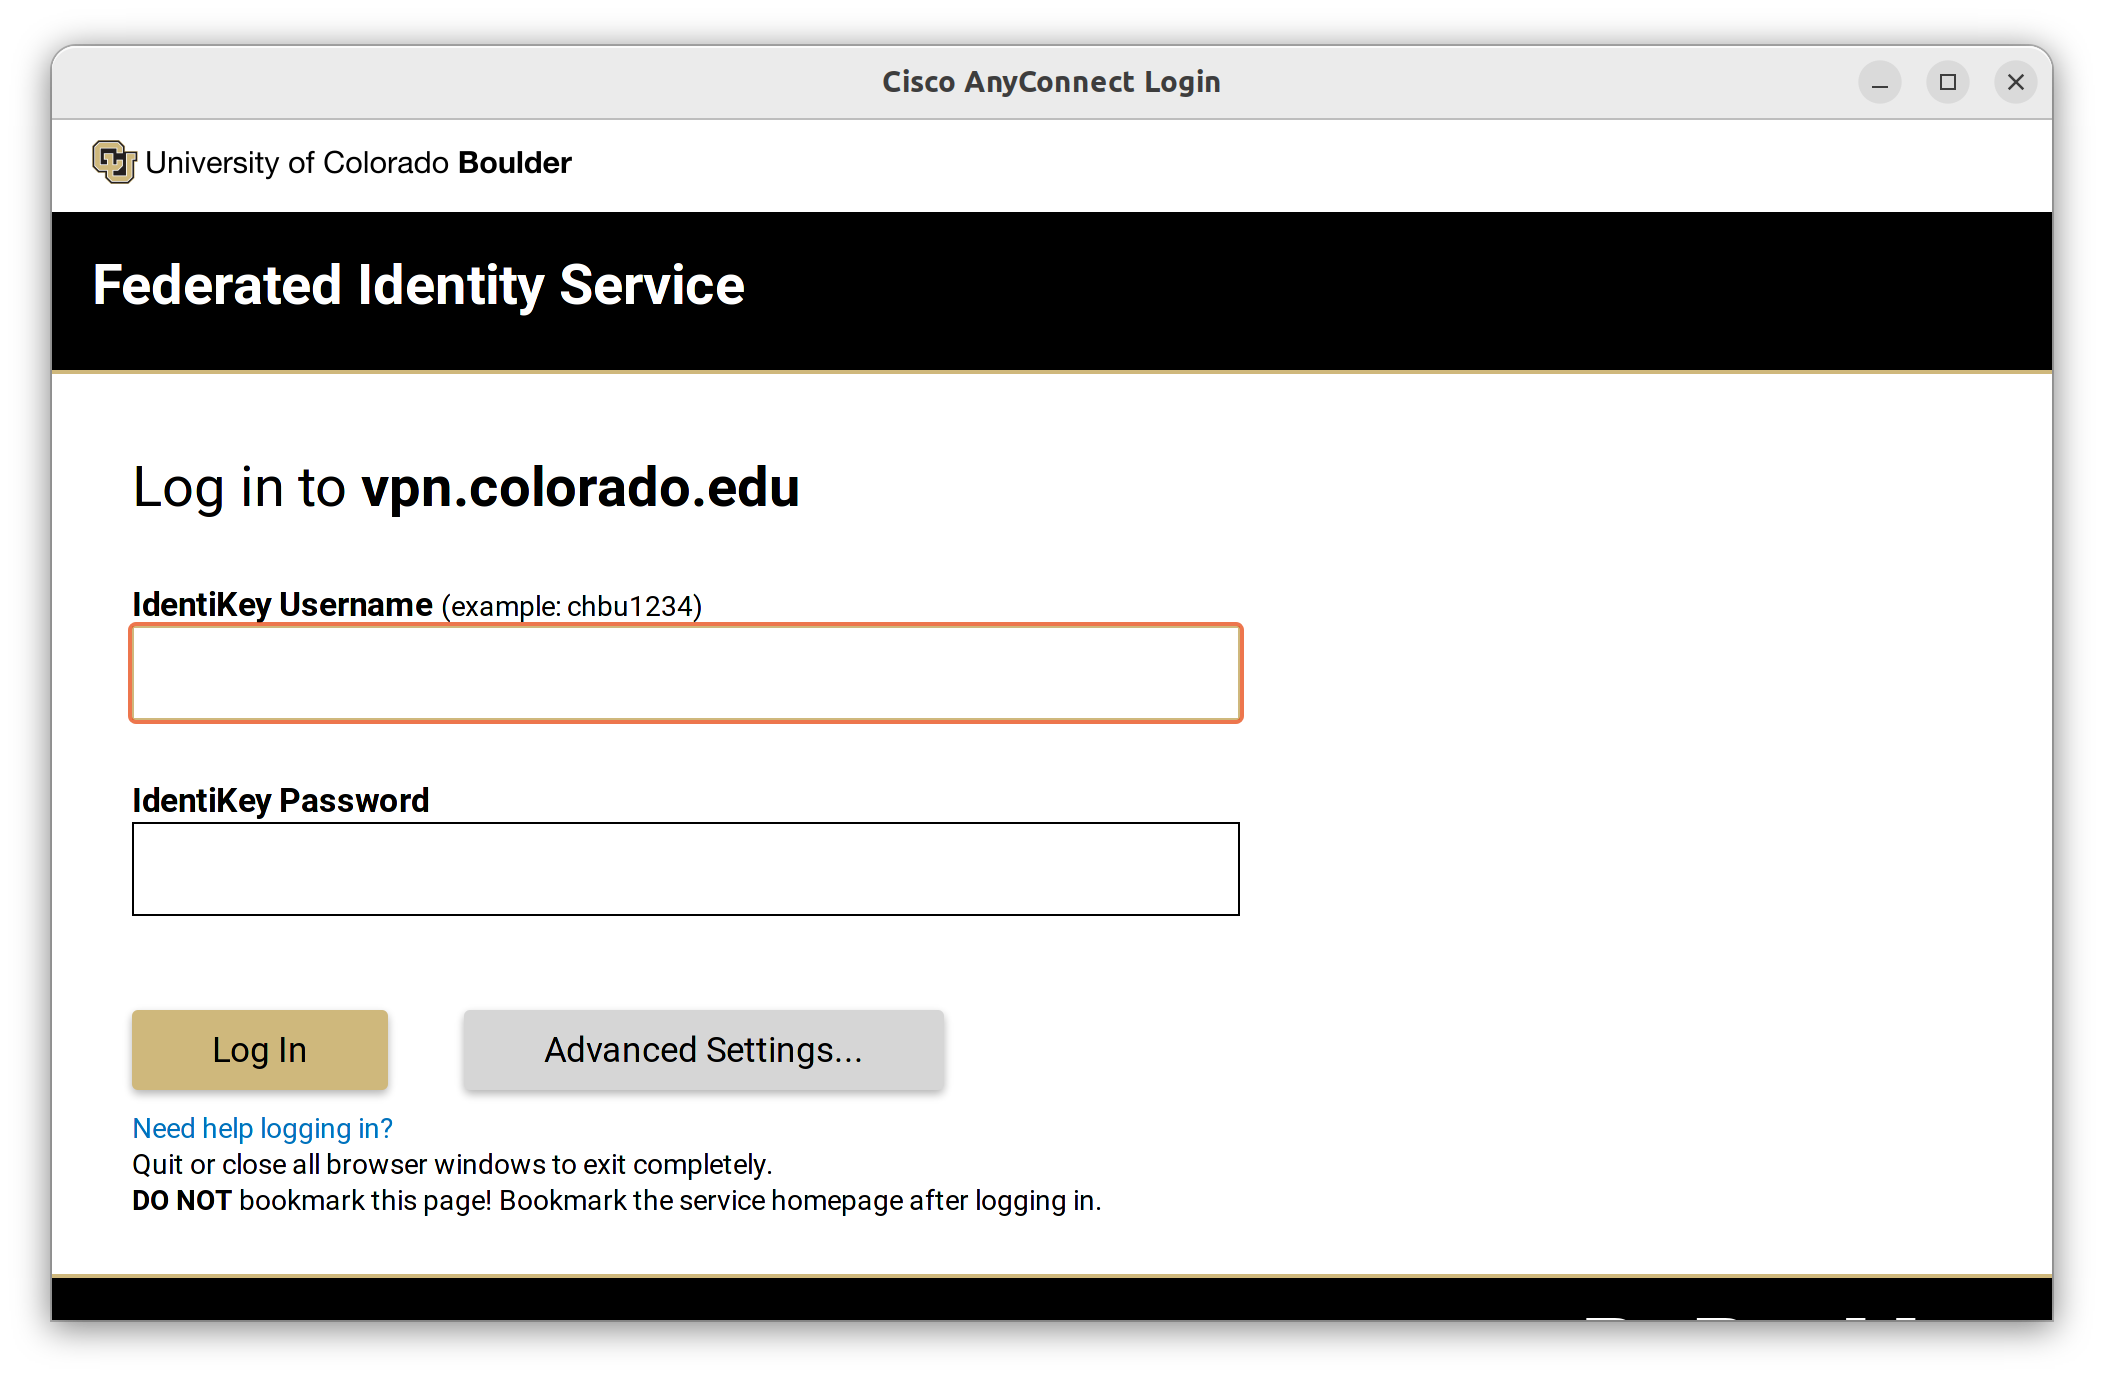
Step 4
Authenticate with Duo multi-factor authentication to finish logging in to VPN. Learn more about Duo MFA.
Step 5
When the connection is established, the login banner will appear. Click Accept if prompted.