
Download & Install the Cisco Secure Client
Step 1
Download the Cisco Secure Client for Mac.
Note: If you are currently using Cisco Secure Client for another VPN, you do not need to reinstall the application. You only need to add the new profile, as shown in the following steps.
Step 2
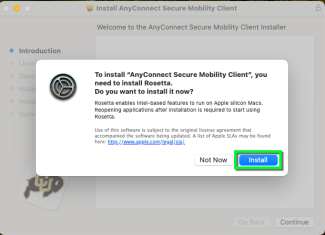
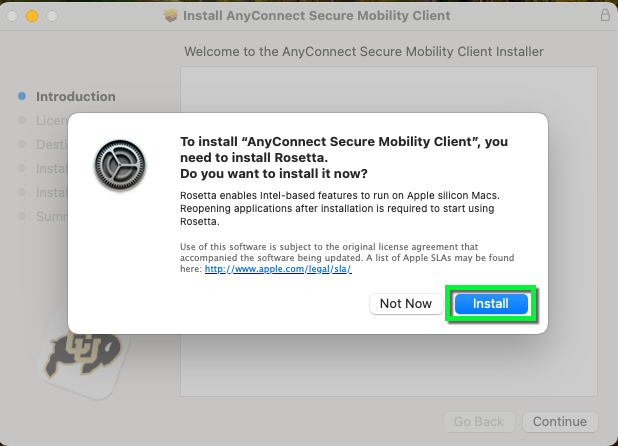
Step 3
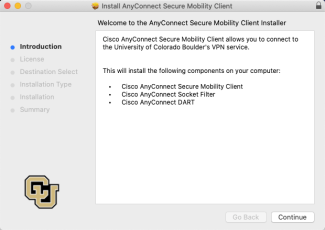
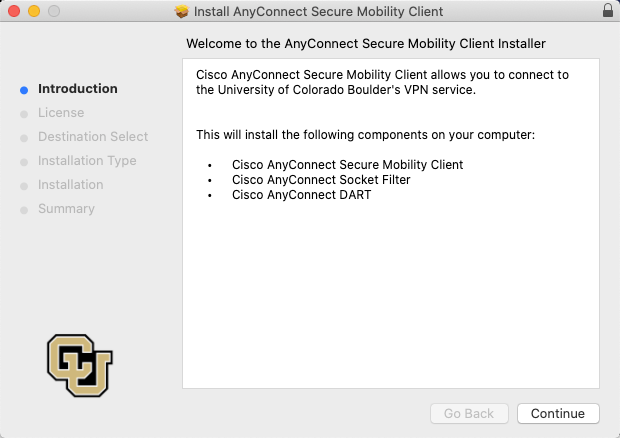

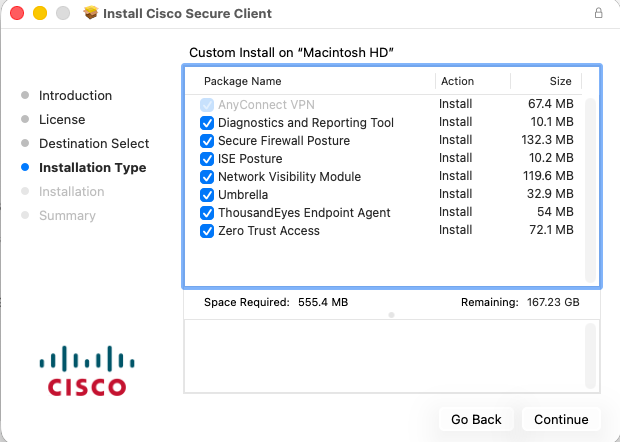
Step 5

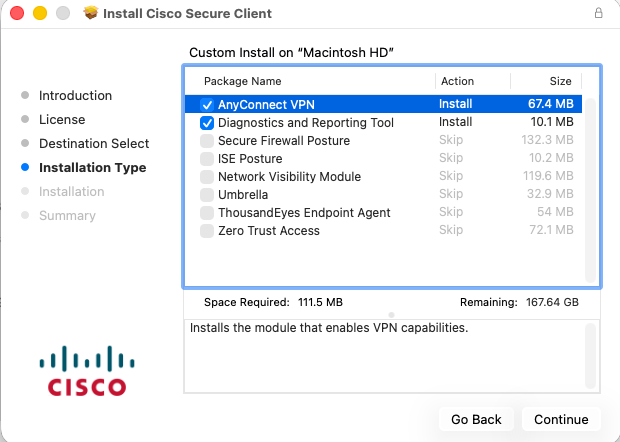
Step 6
When the installer has finished, click Close.
Set Up the Cisco Secure Client
- If your computer is managed by Buff Techs Pro, skip to step 3.
- If your computer is not managed by Buff Techs Pro, continue to step 1.
Step 1
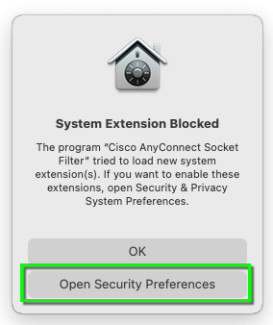
Step 2
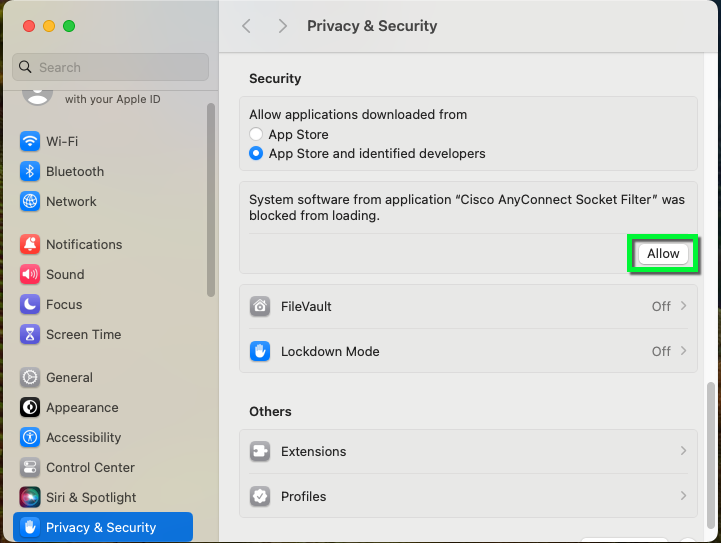
Step 5
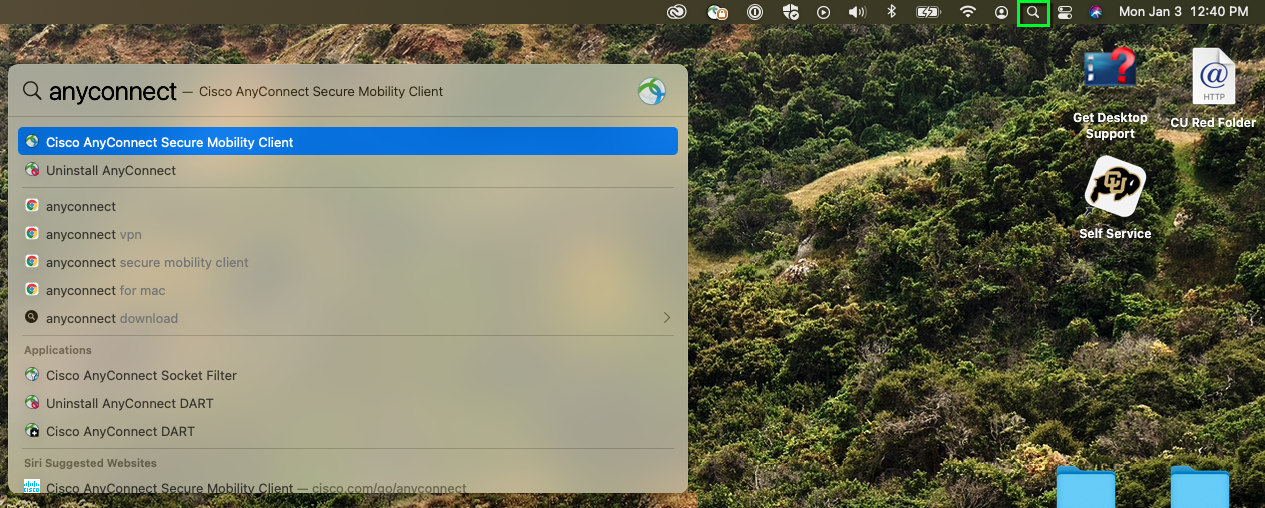
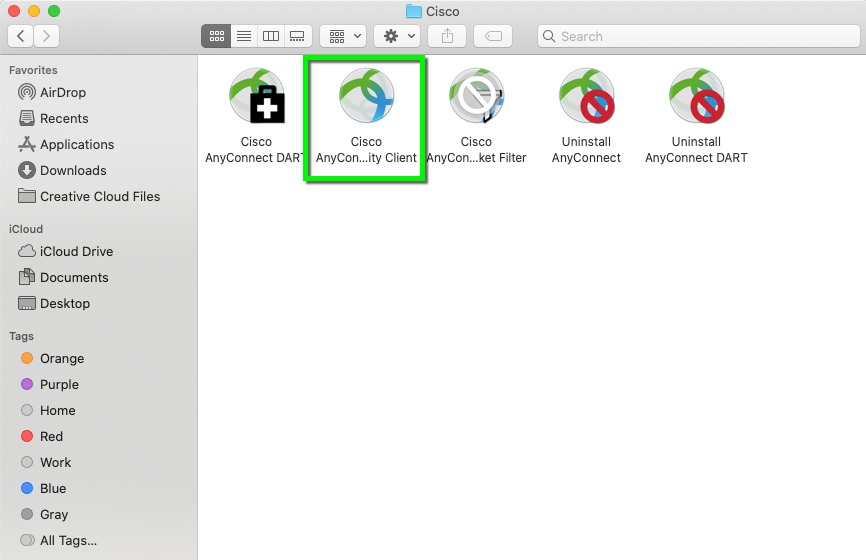
Step 7
Type vpn.colorado.edu into the VPN: text field, then click Connect.
*Note: Advanced users and system administrators should enter vpn.colorado.edu/limited in this field. Custom VPNs in the format of vpn.colorado.edu with /thecustomaddress appended should also be entered in this field, if applicable.
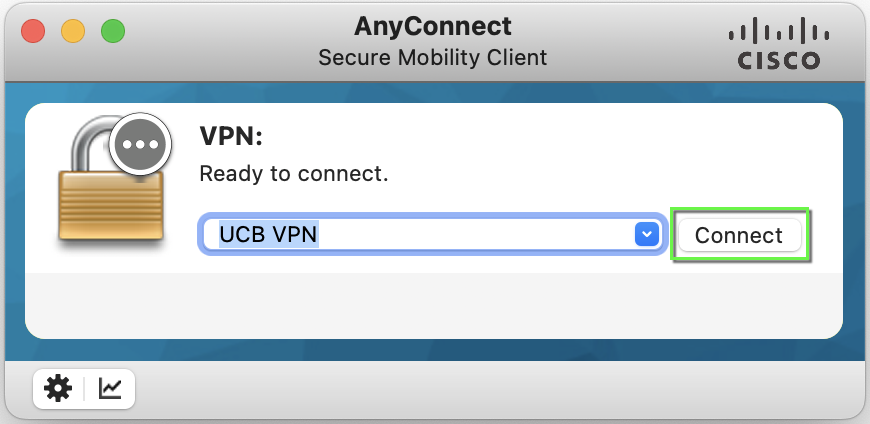
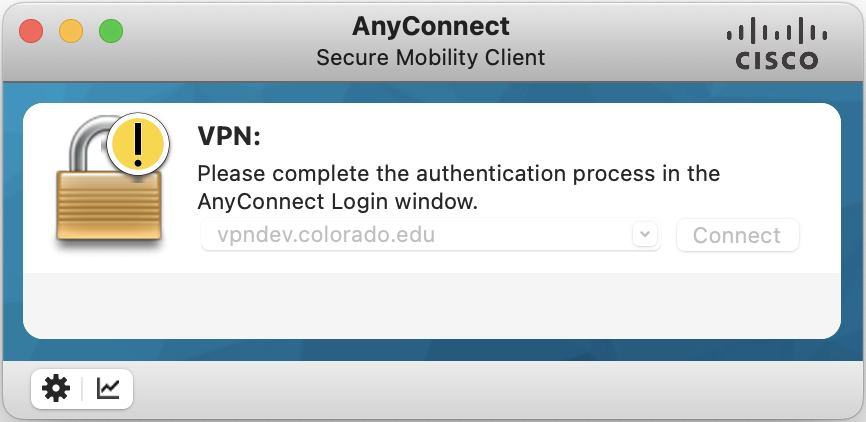
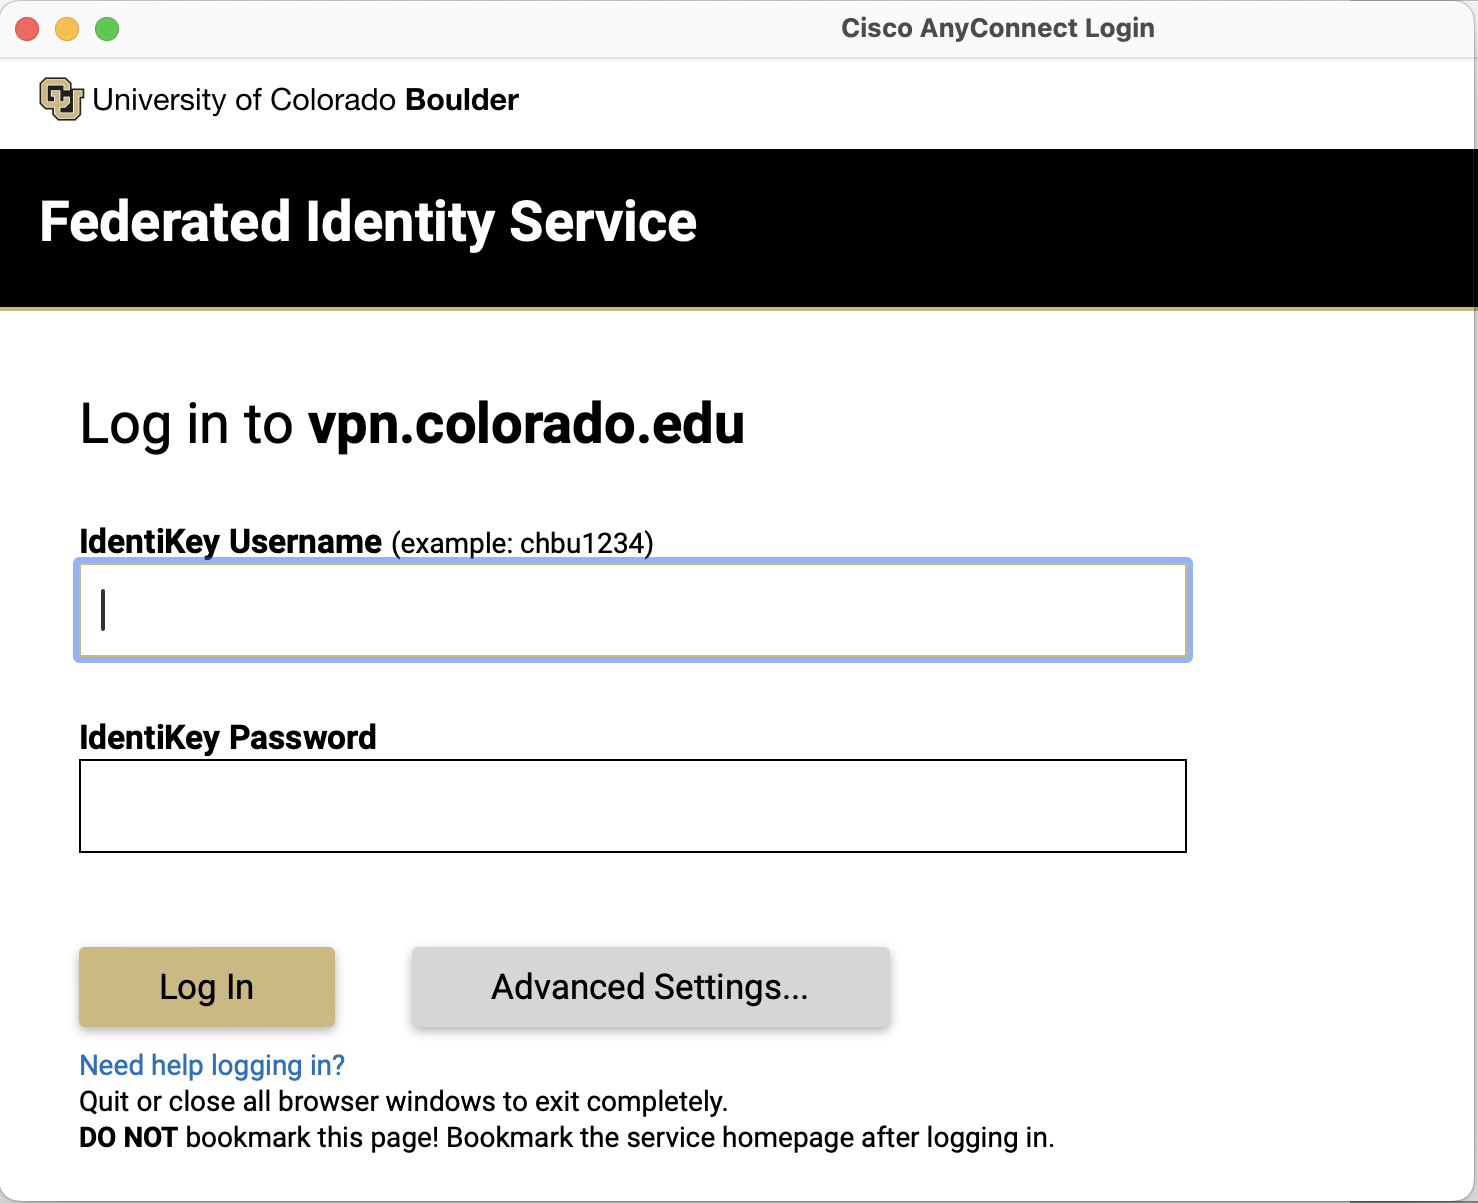
Step 10
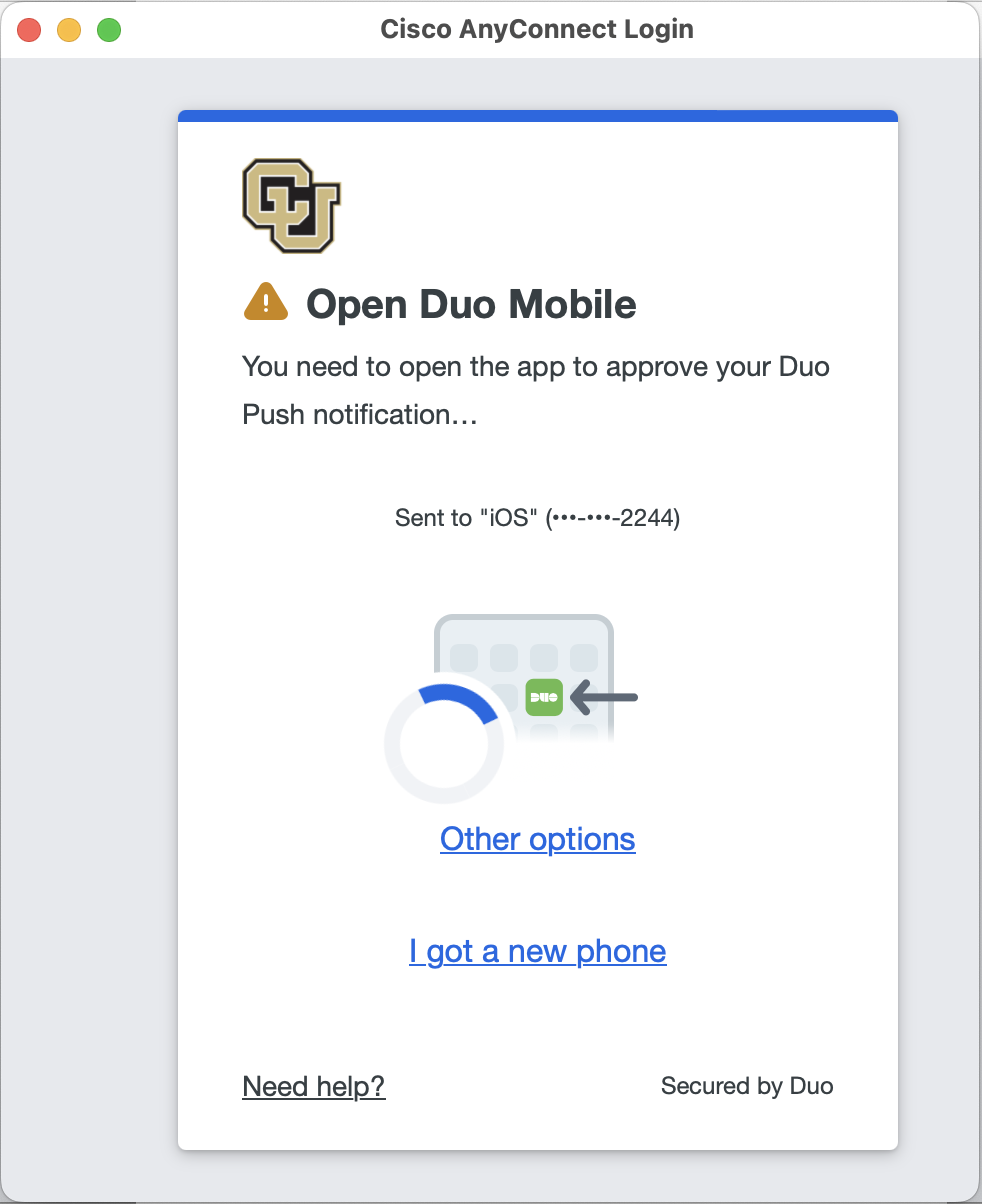
Authenticate with Duo multi-factor authentication to finish logging in to VPN. Learn more about Duo MFA.
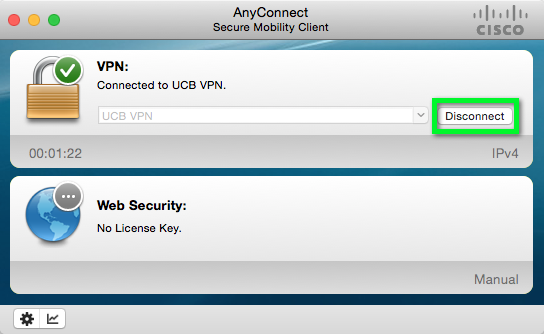
You will now be connected to the CU Boulder VPN service. All your internet activity will be routed securely through the VPN.
*Note: For future connections, the vpn.colorado.edu connection can now be selected from the drop-down menu in setup step 7.
Uninstall the Cisco Secure Client
If you need to uninstall the Cisco Secure Client or any undesired Cisco products that were selected during installation, open a terminal window and run the commands below for the modules you want to uninstall.
Step 1
To uninstall the entire Cisco Secure Client suite, including most of the modules from installation step 4, run this command:
sudo /opt/cisco/secureclient/bin/cisco_secure_client_uninstall.sh
If your purpose for uninstalling the suite is simply to remove additional Cisco products that were selected during installation, your next step is to rerun the installer and ensure only the AnyConnect VPN and Diagnostics and Reporting Tool are selected.
Step 2
To remove Duo Desktop, run this command:
sudo /Applications/Duo\
Desktop.app/Contents/Library/LaunchServices/com.duosecurity.UninstallDuoDeviceHealth
Step 3
To remove Thousand Eyes Endpoint Agent:
- Use Finder to navigate to Applications > Cisco.
- Drag Cisco Secure Client - ThousandEyes Endpoint Agent to the trash.