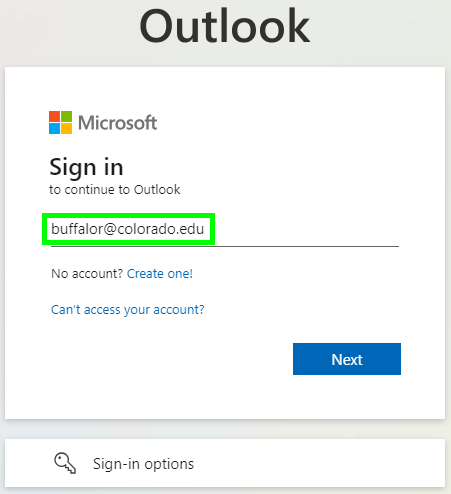
Outlook on the web - Creating a Calendar Event

Step 2

Log into Outlook on the web with your (link sends email)IdentiKeyUsername@colorado.edu  and IdentiKey password.

Step 3

Select the Calendar icon from the left sidebar.

Step 4

In the toolbar on the top of the calendar view, click the New event button. You can also double click on any date in the calendar view.

Step 5

The Details window is where you set the specifics of the event, including the time, place, attendees, and more. There are no required fields, so input as much information as needed for your event.

Click the Private button to hide all event details from others looking at your calendar.

Step 6

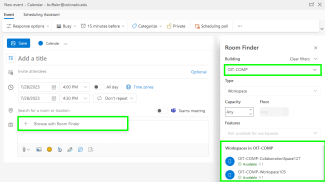
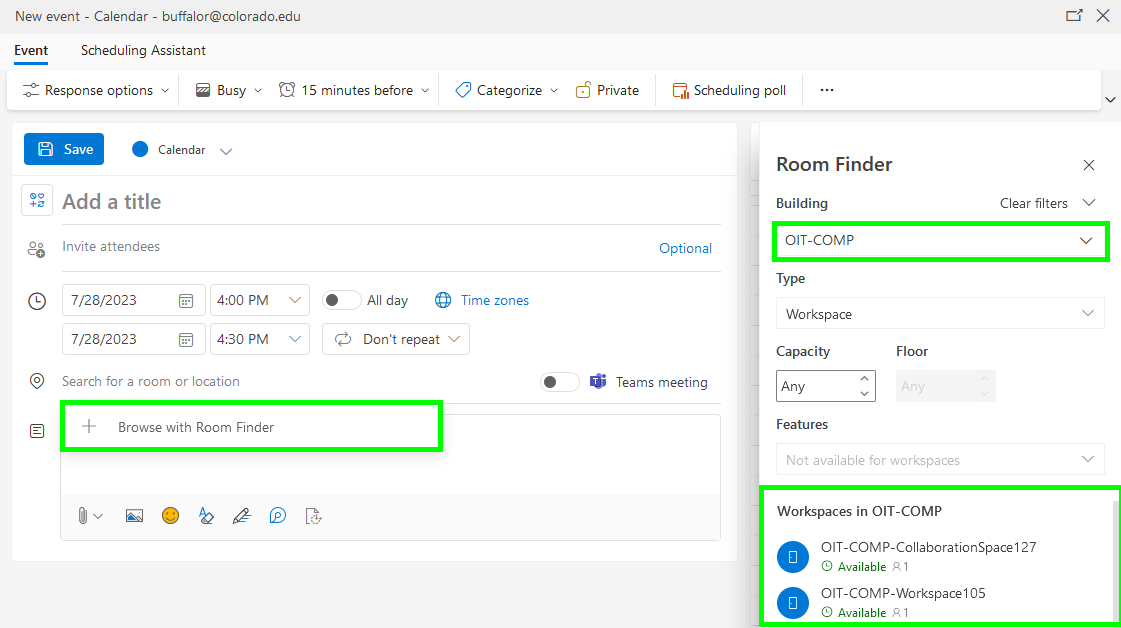
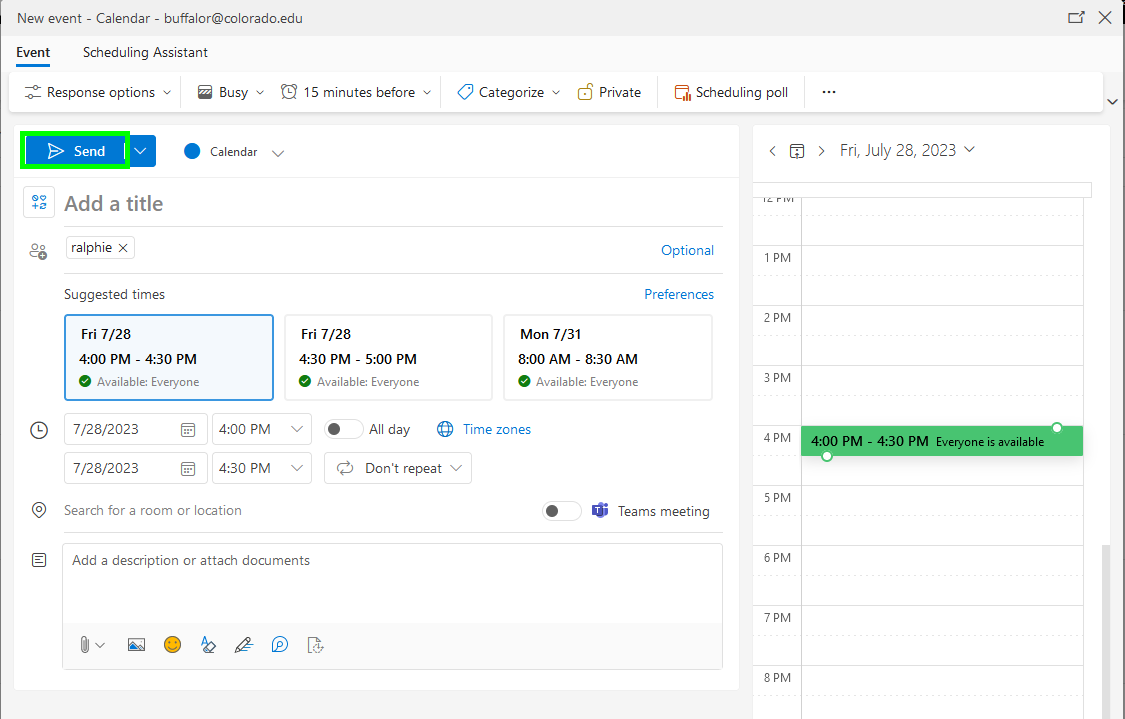
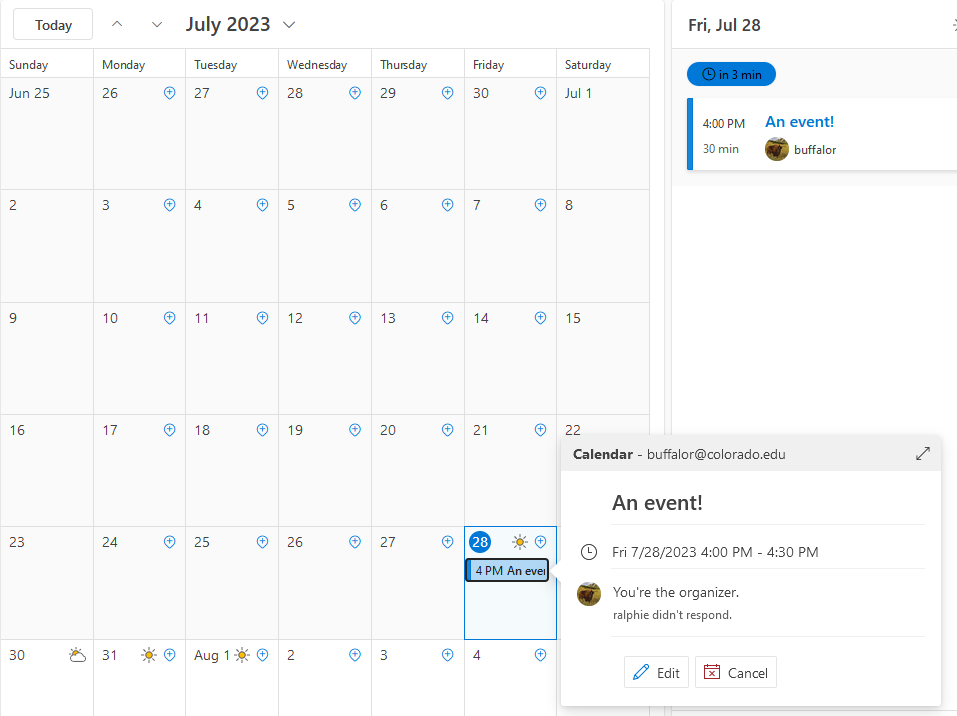
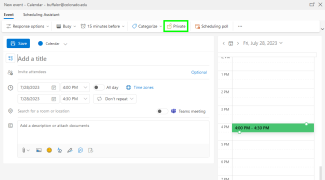
The Search for a room or location field allows you to type in a location, such as a generic place. To reserve a public space, click the Browse with Room Finder button. Select a building and rooms available during the time of your meeting will populate. After making a selection, the room will show up in the Add a location field, as well as in the Attendees list. 

*Note: Availability may change if you update the date or time, so be mindful of your event details before reserving a public space. 

Step 7

Click on the Start and End date boxes to choose the date of your event from a calendar. You can type or use the calendar icon and drop down arrows to fill in the time fields, but selecting the All day toggle will gray out the time fields.

Step 8

Selecting the Repeat drop down arrow allows you to set up a recurring event. You have several default options to chose from (weekly, monthly, etc.), or you can select Custom to further customize your meeting recurrence. 

Step 9

Selecting the Reminder drop down arrow gives you default options for a reminder that your meeting is taking place.

*Note: Calendar events default to a 15 minute reminder. You can change this default in Calendar Options. 

Step 10

Select the Show as drop down arrow to communicate to others your availability during the event. For example, you may want to select Away if you have an appointment that takes you physically off-campus.

*Note: all events default to Busy availability. 

Step 11

To invite people to an event, search for attendees in the Invite attendees text field, and click on their name to add. 

Step 12

Individuals receiving an invite will appear in the Invite attendees field. To remove an attendee from the list, click the X right of their name. The Request responses option is selected by default. 

Step 13

When finished adding details select Save in the top left of the message and the event will be on your calendar.

*Note: If you have invited attendees or added a room, the top left button will say Send instead of Save. 

Step 14

The event will appear on your calendar. Click on it to see details, edit, or delete.