Step 1
- If your device is connected to the internet: Continue to Step 2.
- If your device isn't connected to the internet: Use eduroam, CU Guest or a wired connection to complete this process.
Step 2
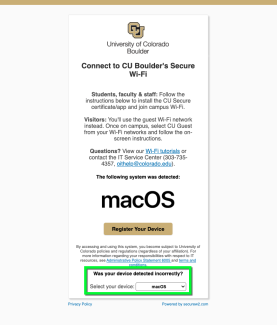
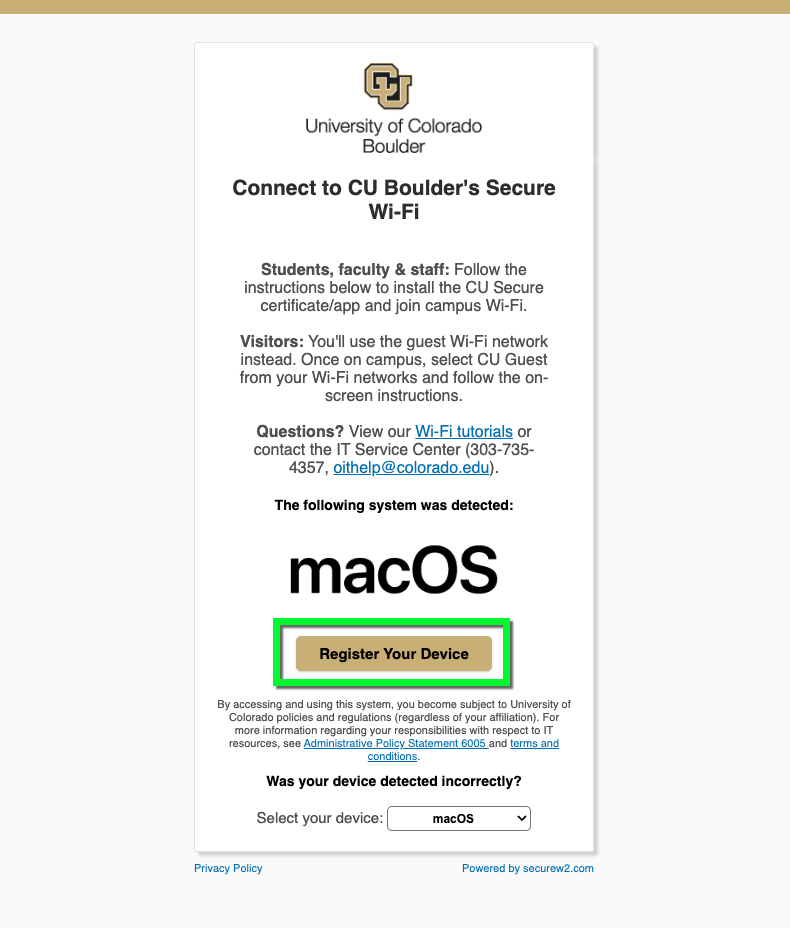
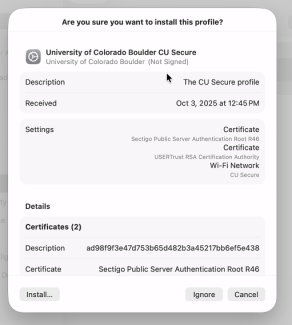
Using Safari,* go to wifi.colorado.edu, then click the Install the CU Secure Certificate button.
*If your device's default browser is not currently set to Safari, you'll need to change it for the duration of this process. Visit Apple's Make Safari Your Default Browser page for instructions.
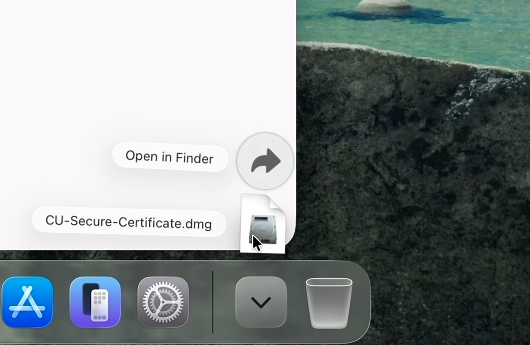
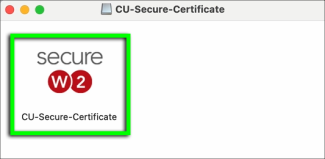
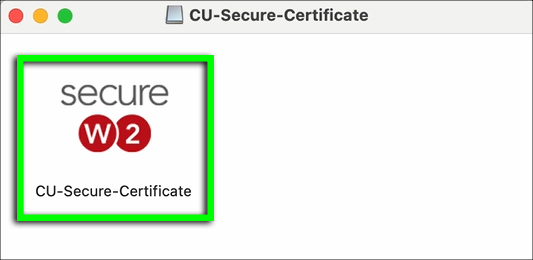
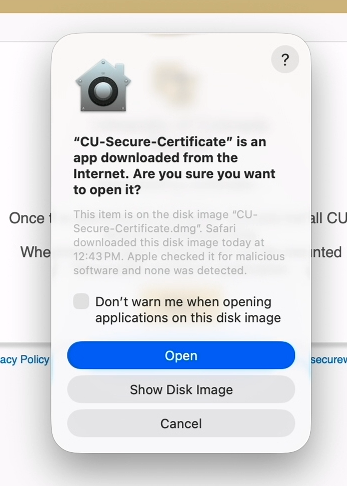
Step 3


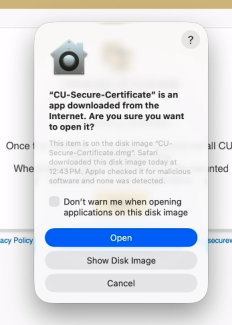
Step 5
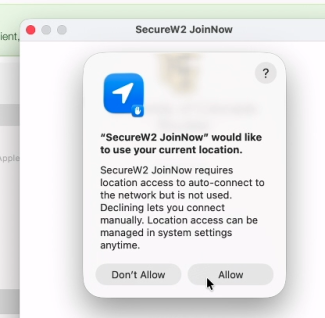
If asked whether to allow downloads on "cloud.securew2.com," click Allow.

Step 9
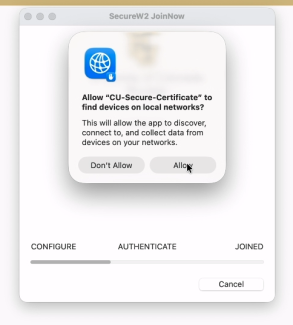

Step 10

Step 11

Step 12


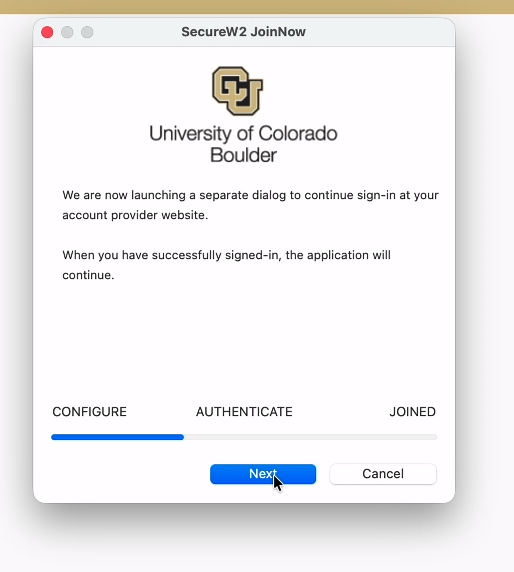
Step 14
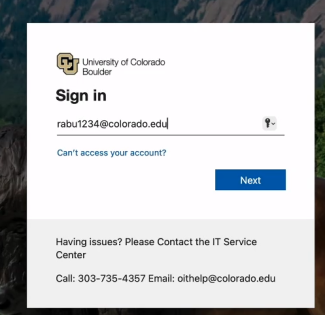
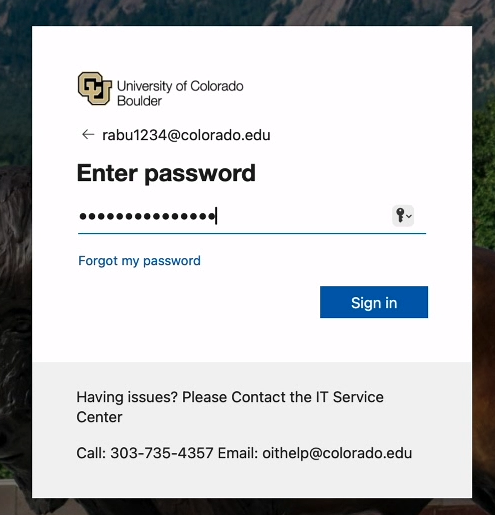
If prompted, complete Microsoft multi-factor authentication.
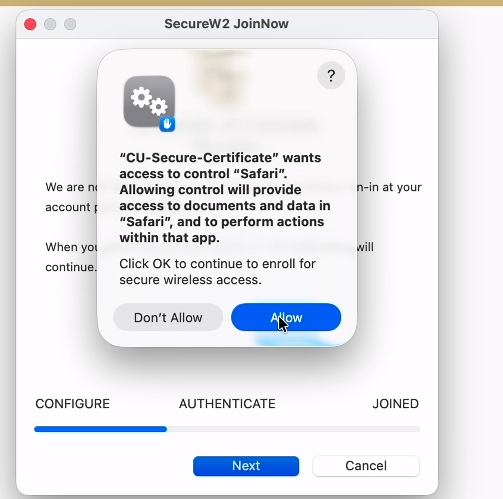
Step 15
Step 16
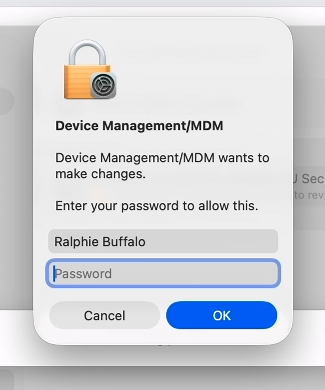
If asked to allow SecureW2 JoinNow to access confidential information stored in "CU Secure" in your keychain:
- Enter your laptop's password.
- Click Always Allow. (Learn why this is safe to do: CU Secure Wi-Fi FAQs.)
Note: If you're not currently in range of CU Secure Wi-Fi, you'll likely see this prompt when you first connect to CU Secure.

Step 17

Step 18


Step 20


Step 21


Step 23
- If you're in an active Wi-Fi early-access building: Skip to Step 26.
- If you're not in an active Wi-Fi early-access building: Continue to Step 24.
Step 24

Step 25

Step 26
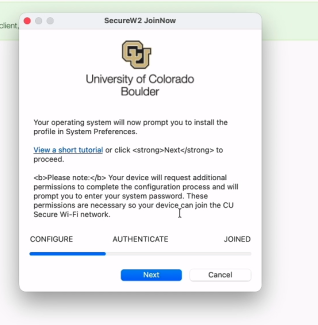
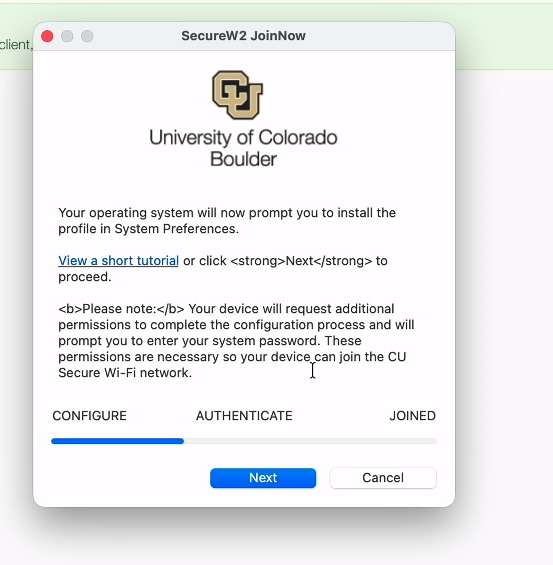
Your device is now registered on CU Secure Wi-Fi and should connect automatically once you're in range.
Note: If you're completing this process over Wi-Fi, the previous step may have caused your device to disconnect from the network. Check to make sure you still have internet.
Step 27
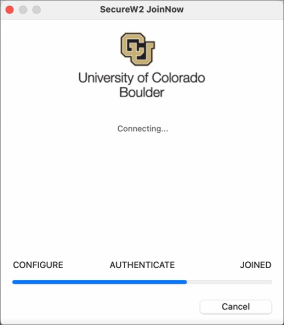
If you're in an active Wi-Fi pilot building, the onboarding client will indicate that it's authenticating to CU Secure.
Step 28
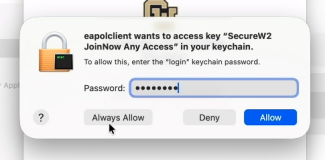
If asked to allow access to the "SecureW2 JoinNow Any Access" key in your keychain:
- Enter your laptop's password.
- Click Always Allow. (Learn why this is safe to do: CU Secure Wi-Fi FAQs.)
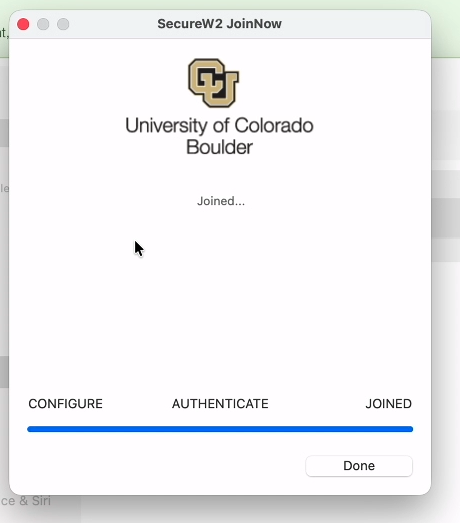
Step 29
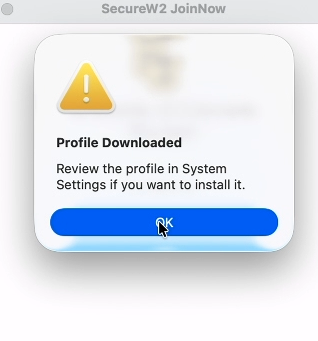
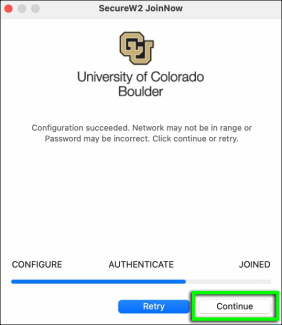
Once the client has finished authenticating, it should display a "Joined..." message. Click Done.
Note: You may be connected to CU Secure even if the client displays a message that suggests otherwise. Check your Wi-Fi connection before attempting to troubleshoot.